SketchUp Extension
IRIS plots may be visualised inside of a SketchUp model via a custom SketchUp extension.
Installation
The extension should work on any SketchUp version (we've tested up to version 2015).
-
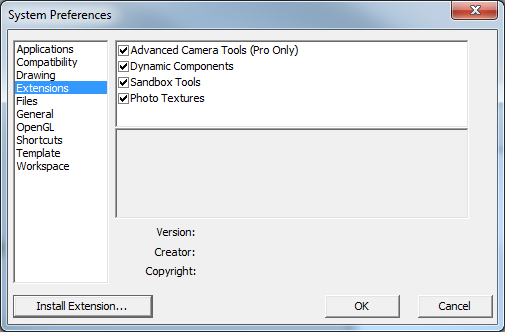
Open SketchUp, select Window menu, then Preferences.
-
Select Extensions on the left.
-
Click Install Extension and locate the
IRIS.rbzfile included with your IRIS installer. -
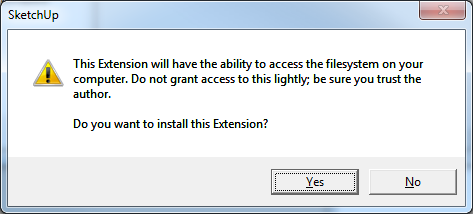
Select Yes when prompted about file system access.
-
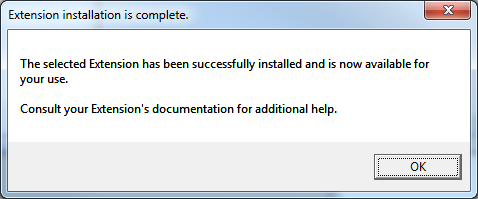
Click OK again after the extension has installed successfully.
-
You should now see IRIS in the list of extensions. Tick the entry and press OK.

The installed extension will appear as a toolbar in SketchUp.

Import IRIS Plot
-
In IRIS, open the measurement you wish to export, and configure the plot with your desired settings.
-
Select Measurement menu, Export, then Export IRIS Plot Data.
-
In the Save as type field, select IRIS to SketchUp text file.
-
Save this *.txt file on your computer.
-
Open SketchUp and load the room model.
-
Enable the Styles toolbar if it is hidden:
a. Select View, Toolbars... b. Scroll down and tick Styles c. Click Close
-
On the Styles toolbar, enable X-Ray and Shaded buttons.

Note
Shaded is not essential, but please ensure that Wireframe is not selected when your import IRIS plots.
-
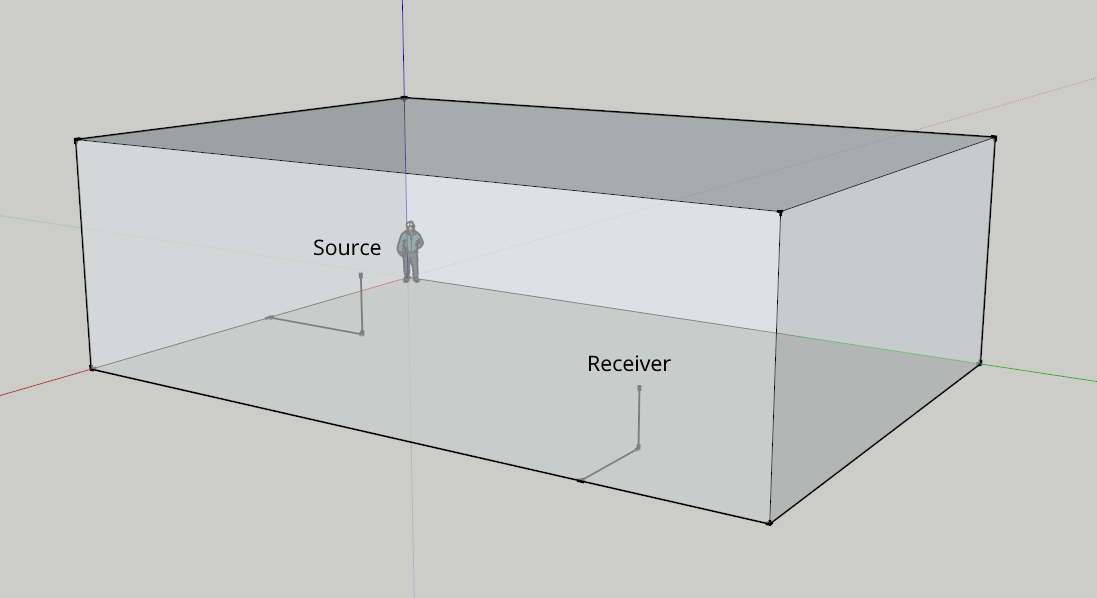
Identify the source and receiver points for the IRIS plot you wish to display.
Tip
One technique is to use the line tool. For example, if you know where the source was with respect to some point, you could draw lines of known lengths from that point to help you specify the source position, for example:
-
Click the Import IRIS Plot button.

-
Click the receiver point followed by the source point.
-
A dialog window will pop up. Open the *.txt file you exported from IRIS.
-
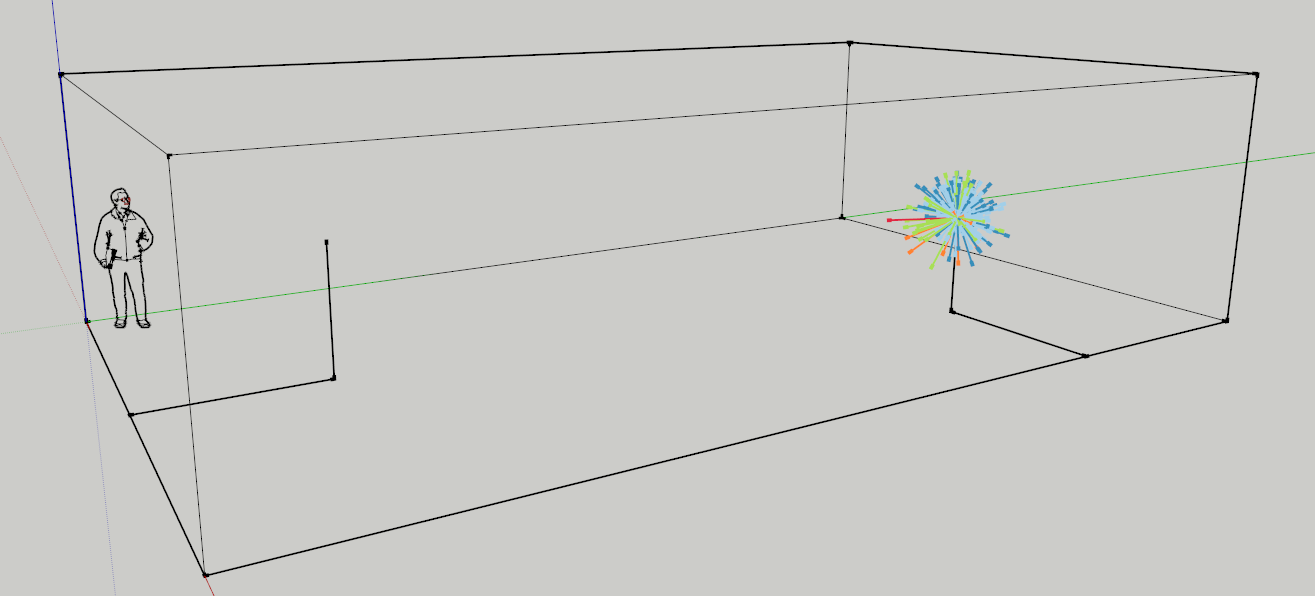
A message should appear saying the IRIS plot has imported successfully.
-
It may now help to enable the Wireframe style so that you can see your IRIS plots clearly.
Tip
You may load multiple IRIS plots into one model by repeating the above steps. Take care to ensure all exported IRIS plots for one model have the same settings.
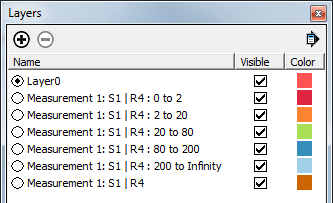
Show or Hide Time Intervals
The IRIS plot rays are organised in layers according to their time interval (colour), which are listed in the Layers window in SketchUp. Use the Visible tick box to show and hide different layers.
Extend Rays
The IRIS plot rays may be extended to the boundaries of the room.
Important
The room must be sealed for this to work.
Tip
Please take care how you interpret this. A ray will likely represent more than one reflection. See the note here.
Add Extension Lines
-
Select an IRIS plot in SketchUp.
-
Click on the Extend IRIS Plot button.

-
Extension lines are now added to the IRIS plot.
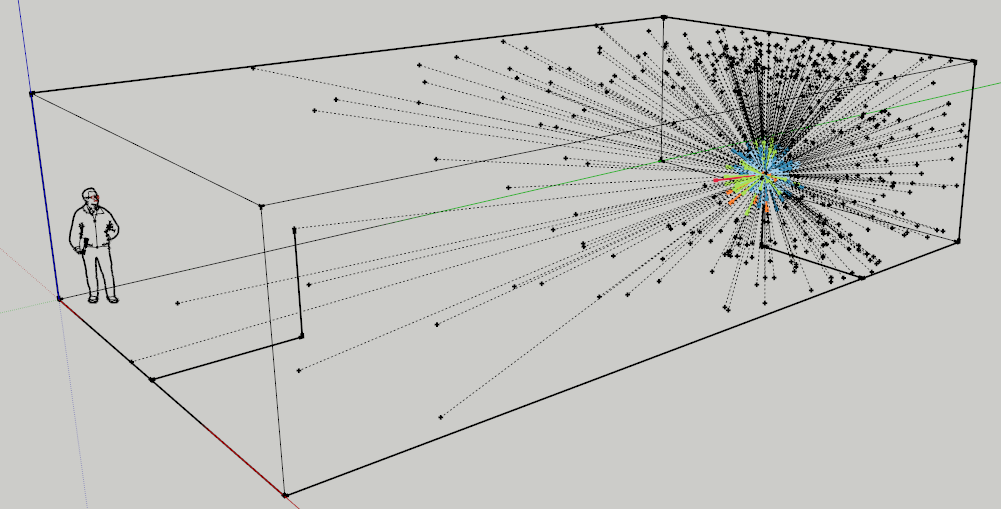
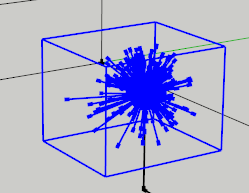
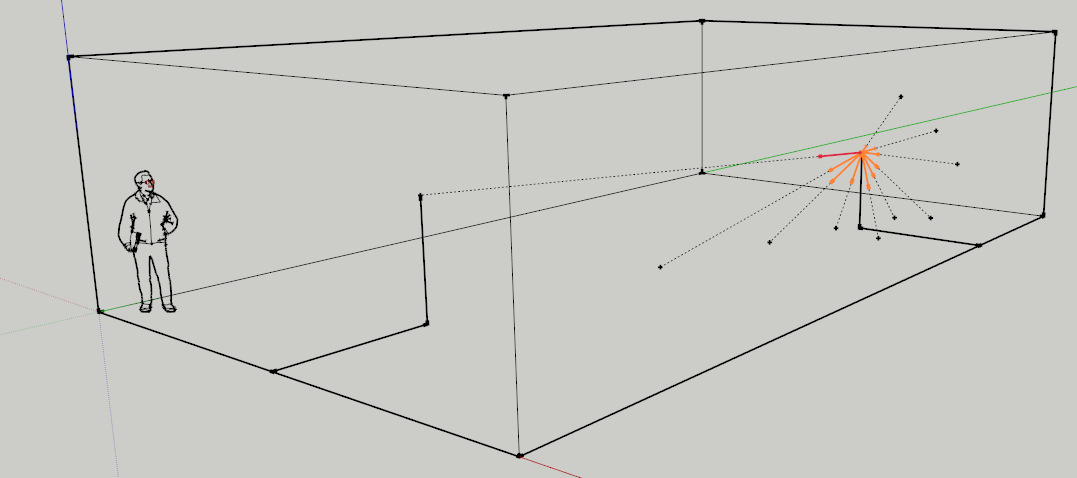
-
There's a lot of information here, so it may help to look at one or two time intervals at a time. For example, here's the same plot above showing only the first two intervals (0 to 20 ms).
Remove Extension Lines
To remove the extension lines, select the extended IRIS plot and click Remove Extension Lines button from the IRIS toolbar.

Delete IRIS Plot
To remove the IRIS plot from a SketchUp model:
-
Select the IRIS plot and push delete on your keyboard (or go to Edit menu, then Delete).
-
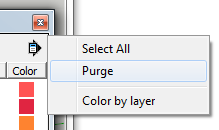
This does not remove the layers. To clean up any empty layers, select the arrow in the Layers window and click Purge.